README Generator

Fill in a short form and get a complete README.md for your project: description, features, installation, usage, contributing, license and author, with badges and a table of contents. Check it in the preview and copy it to GitHub.

  • Free daily uses
  • Runs in your browser
  • No sign-up needed

Last updated

Plan: FreeView packages →

Made in your browser. Nothing you type is uploaded.

100 of 100 operations left today
README.md
Project
The language of the headings and standard sentences in the README.
Description
Markdown works here.
One per line.
Installation and usage
Commands, one per line. Left empty with an npm package, it says npm install and the package name.
Markdown works here: put code between lines of ```.
Contributing
License and author
Markdown works here.

Give your project a name to see its README here.

Copying or downloading the README counts as one Markdown operation. Filling in the form is free.

Guide

How to make a README

Three steps from a form to a README.md for your project.

  1. Describe your project

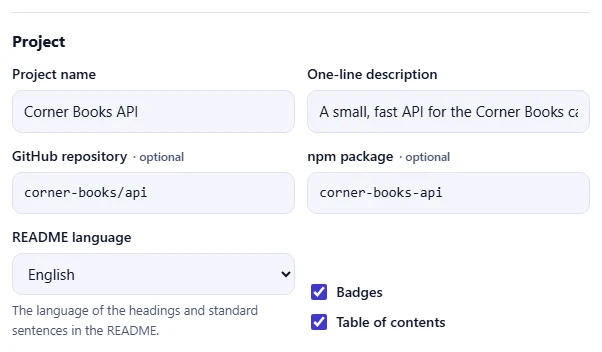
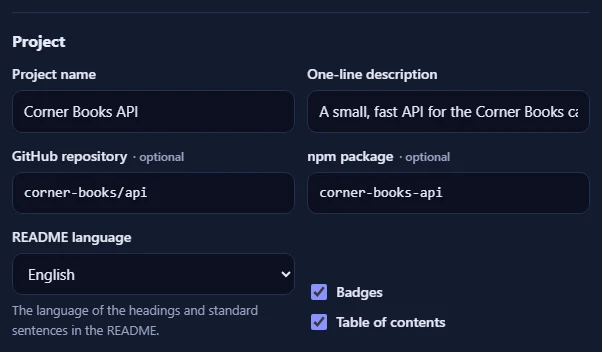
    Give it a name and a one-line description. Add the GitHub repository and npm package if you have them, choose the README language, and keep Badges and Table of contents on if you want them. Click Sample to see an example.

    The project part of the form with name, description, GitHub repository, npm package, README language, badges and table of contents.The project part of the form with name, description, GitHub repository, npm package, README language, badges and table of contents.
  2. Fill in the sections

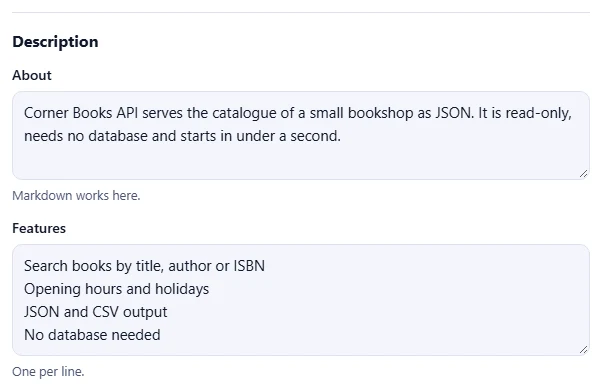
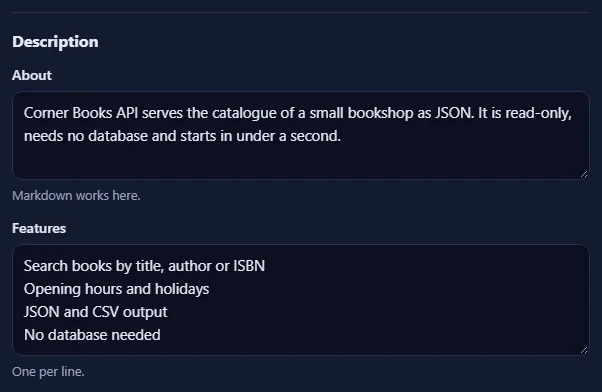
    Write what the project does, list its features (one per line), the install commands and an example. Choose a license and add your name. Sections you leave empty are left out.

    The form's sections: About, Features, Installation and Usage, filled in for the sample project.The form's sections: About, Features, Installation and Usage, filled in for the sample project.
  3. Copy the README

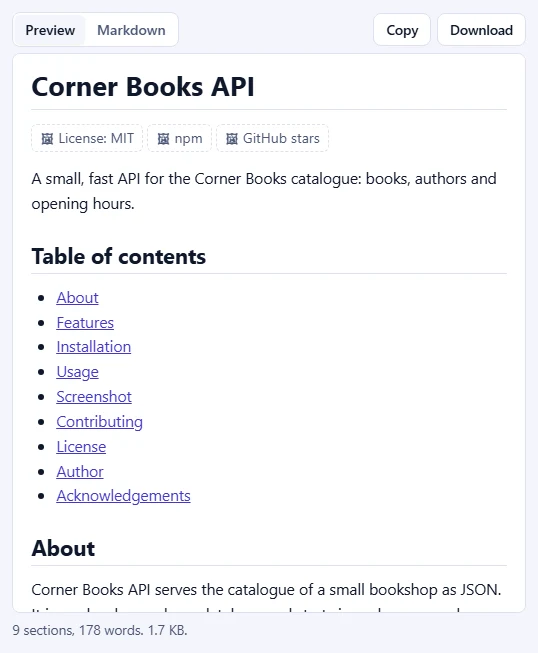
    The README updates as you type. Switch to Preview to see it as on GitHub, then click Copy README or Download and save it as README.md.

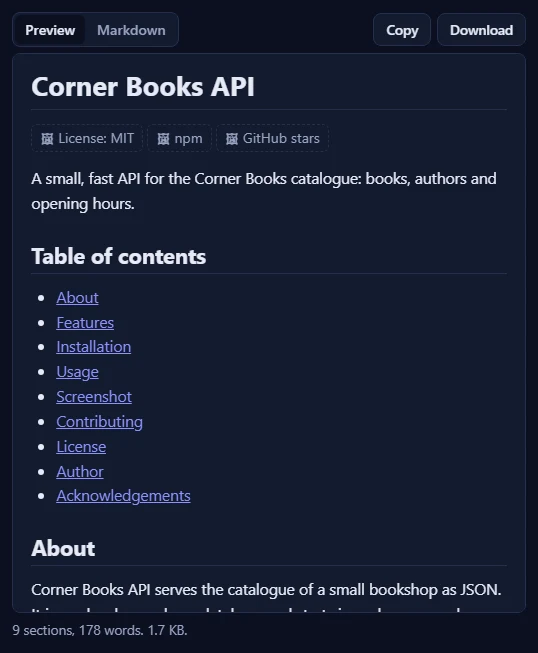
    The preview of the sample README with badges, description, table of contents and sections.The preview of the sample README with badges, description, table of contents and sections.

Good to know

  • Nothing is uploadedYour README is made in your browser and never leaves your device.
  • Filling in is freeOnly copying or downloading the README counts as one Markdown operation.
  • Add a LICENSE fileThe License section links to it; GitHub can create one from its templates.

Frequently asked questions

What goes into the README?

The project name and one-line description, then the sections you fill in: About, Features, Installation, Usage, Screenshot, Contributing, License, Author and Acknowledgements. Sections you leave empty are left out, so the README only has what your project needs.

Can the README be in another language?

Yes. Choose English, Spanish, German or French as the README language: the headings and the standard sentences for Contributing, License and Author are written in that language. What you type yourself stays as you wrote it.

What are the badges?

Small labels at the top of the README for the license, the npm version and the GitHub stars. They are pictures from shields.io that GitHub shows; our preview shows them as boxes instead of loading them. Add a GitHub repository or npm package to get those badges.

Where do I put the file?

Save it as README.md in the top folder of your project: GitHub, GitLab and npm show it on the project's front page. The License section links to a LICENSE file; GitHub can create one for you from its license templates.

Is anything uploaded, and what counts as a use?

No, the README is made in your browser and what you type never leaves your device. Filling in the form is free: only copying or downloading the README counts as one operation towards the daily limit shown above the tool. Our server records just that count and your network address.

More Markdown tools